Prusa i3 MK3S+ Build

Cosmo

Owner
Staff member
If you've been following the 3D Print Project Feed thread, you might know we're trying to build a 1:8 scale model of the DeLorean time machine from Back to the Future. The printer we had was a Prusa i3 MK3 built years ago, and I found a problem with the hotend while doing some maintenance after aa failed print that forced me to pause things for a bit.

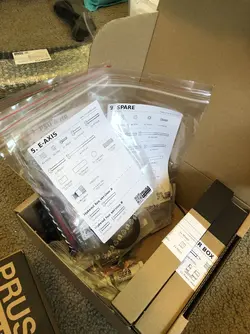
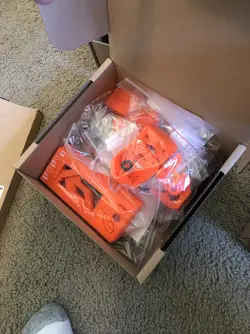
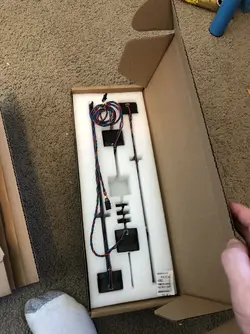
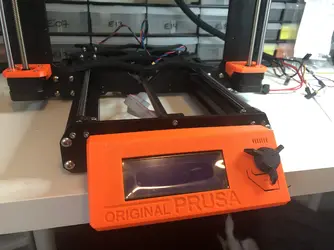
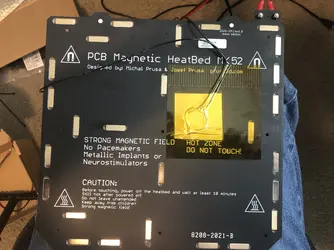
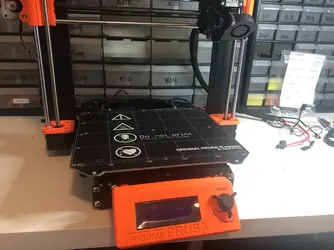
But now we're back, with bigger and better toys. We've just received our replacement, a brand new Prusa i3 MK3S+... And it's something that requires quite a bit of assembly.

Starting Saturday morning, 5/21/22 I will start livestreaming its construction and hanging out on Twitch while I do it. Nothing too structured, maybe an Ancient Aliens or Back to the Future marathon in the corner while I work on it and chat with whomever drops in.

This probably won't be finished in a single sitting, but I'll keep this Showcase item up to date with future streams and overall progress :)

 
Last edited by a moderator:
Setting up cameras and stuff today, will probably begin right after breakfast tomorrow AM around 8 or 9 Pacific. I'll be streaming until at least 3 or 4 so drop in whenever you can. Video link will be here and on the main Showcase entry :)
 
Last edited by a moderator:
The item Prusa i3 MK3S+ Build has been updated:

I've been working hard on this - Livestreaming ended up being a bit more than I wanted to juggle; this takes some concentration and fighting with small fiddly pieces. Photos and proper updates coming in the AM!

 
I don't know why this printer type is being peddled for 1500 dollars worth where I live..

...maybe its because I live on a remote island, but its still kinda absurd

I like Prusa as a company though, they had a booth at a convention I went to in 2019 and gave me maybe a kilogram of free filament.

 
I don't know why this printer type is being peddled for 1500 dollars worth where I live..

...maybe its because I live on a remote island, but its still kinda absurd

I like Prusa as a company though, they had a booth at a convention I went to in 2019 and gave me maybe a kilogram of free filament.
YOW, and I thought what I had to pay was a chunk of change. Is that just for the kit, or the fully assembled one? You're closer to the Czech Republic than I am too.

Been doing dad stuff, I will have an update this evening I guess :p

 
Last edited by a moderator:
Phew. This has been a project and a half.

I streamed for a while on Saturday morning, but quickly realized this isn't the most interesting thing to broadcast. Someone with more talen than I have could pull it off, but it's a lot of small fiddly pieces and concentration in silence while I check and double-check reference photos. Up to 4 hours of footage containing me silently fiddling with my Allen wrench now exists. It's very empowering.

In the absense of a fully narrated 12 hour build video, here's the steps I'm following:

https://help.prusa3d.com/category/original-prusa-i3-mk3s-kit-assembly_1128

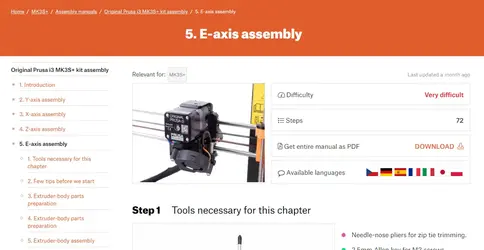
Currently, I'm at the E-axis assembly:

1653442264273.webp

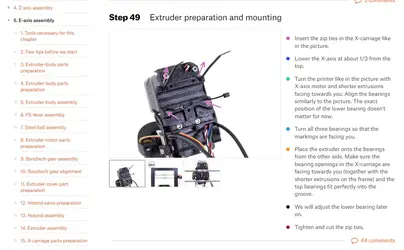
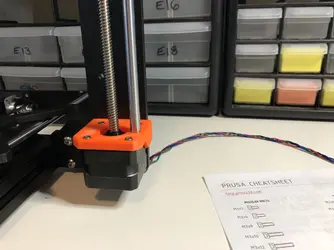
This step is where I left off:

1653442341261.webp

This isn't much different than the last one I built, but that was years ago and there's a lot more distractions these days! I've only sworn at it five or six times, probably a personal best.

I will edit this in a moment to get some photos up. Stand by.

 
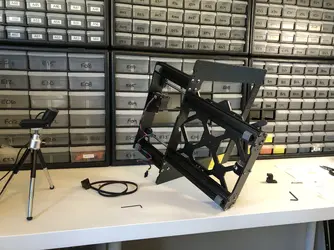
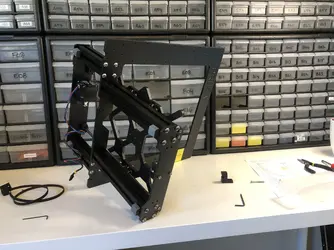
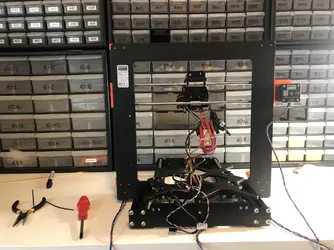
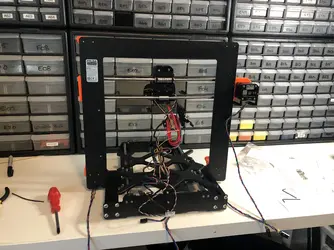
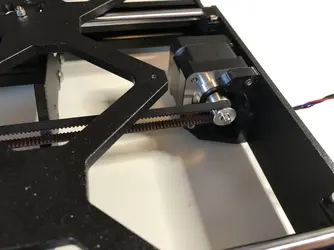
This is what I began streaming, and was probably the easiest section. It's the main frame, and then the X-axis motor with belt assembly. I'm guessing at the tension on the belt, I don't have a tool to measure this (and it probably doesn't matter). There's a cool looking tension meter you can 3D print, so I might do that afterward and adjust as needed.

https://www.printables.com/model/46639-tension-meter-for-the-gt2-belts-of-i3-mk3s-or-prus

32831966-604A-41D7-AD73-909E94AC4FD4.webp

DDA6C3BB-D155-4798-BBE8-10CAD6511988.webp

DA1DF04D-CADD-48DA-B159-057B186A630B.webp

D788A522-EBF6-48EB-A67A-1CD8A820CD40.webp

C752BA28-CA38-479E-A771-C8AF2D1C5DC1.webp

7B7DEBCE-DD0E-404C-A502-2F2346CB6949.webp

6908A620-9833-49ED-AEAB-3B5971E55675.webp

B671A706-3239-462D-AF58-E406F49827FB.webp

 
Last edited by a moderator:
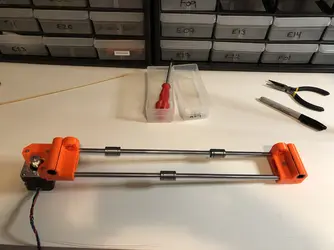
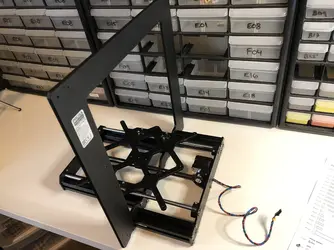
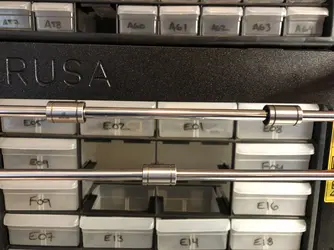
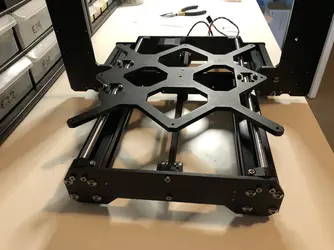
The next section was the Y-axis carriage, and definitely the easiest section. The smooth rods have to be shoved ALL the way to the back of the orange parts, so that takes a bit of patience and finesse to not break anything. Plenty of comments about that in the instructions, but I have the Cosmo touch.

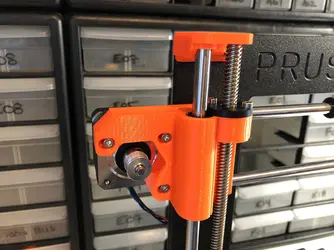
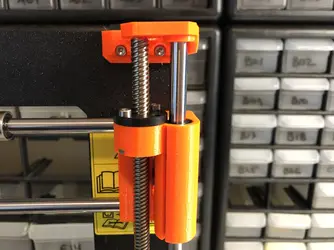
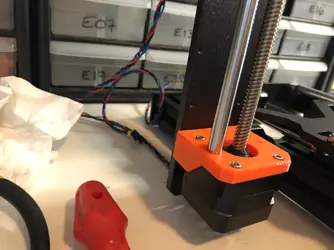
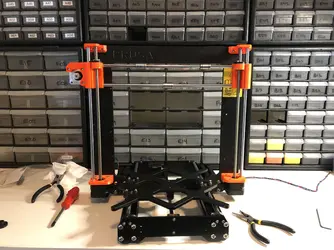
Attaching the Z-axis motors was about as simple as it looks. The biggest pain in the ass was the trapezoidal nut on the left-hand motor. You're supposed to take the Y-axis and stick it on top of the threaded rods on those motors, then rotate them by hand to grab those nuts (that's what she said) pulling the carriage down. That left-hand nut would nut budge at all, and had to channel some sort of inner spirit with actual upper-body strength to get it unstick. Once that feat was performed and I was done sobbing under the table with the dog because my thumbs hurt, I disassembled that part, replaced it with a handy extra one that Prusa included, then put it back on.

Voila. Moved up and down like a champ after that. And that was the last time I ever smiled....

AAC967B1-624E-4D72-A0CA-B980CE94A3AD.webp

3E8FF167-38D1-4419-8F5D-8779CABFCC2C.webp

7A6B34DA-0065-4384-A890-F1B3E8B82571.webp

A6ADE5B4-06C5-41E1-9DC6-76E15DD385F9.webp

3C804CE8-7D8E-4FAB-9846-5612064F47F1.webp

CE47C575-618F-4969-80A5-1C9373EA1076.webp

5485480B-56F0-4BA5-8DBD-1C3E8E211D3E.webp

ADF52588-D409-4269-A203-F275435DB978.webp

416D78D7-F092-43F6-BB77-A5951B1516B4.webp

CAD6584F-4EC1-4A1D-AB3E-4047CF948A2C.webp

 
Last edited by a moderator:
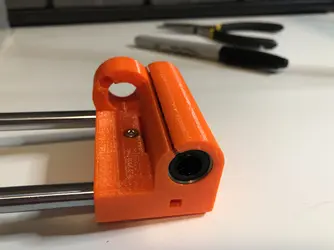
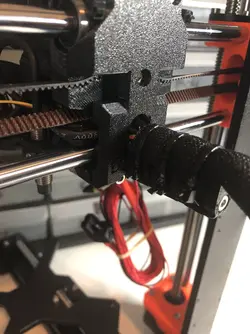
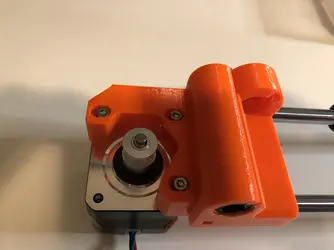
...Because then I had to build the extruder. I only have a photo of the end result as most of my time was spent trying to keep tiny little nuts from fallout out of things as I had to turn them over. It's not THAT complicated, but there's plenty of times when you have to tighten something "just so", and each one of those moments took more attempts than I'll readily admit.

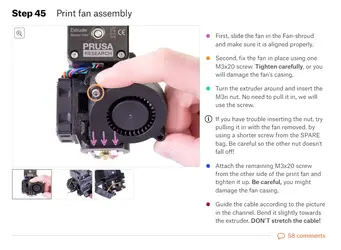
Each step in their manual allows comments. You can generally get an idea of how tricky something is by how many comments there are... And this one had 58:

1653452395547.webp

The goddamned nut on that thing would not stay in, and the piece it's attached to is a weird L shaped thing that has to sit right next to the extruder motor wires where they come out of the motor body. I looked like some kind of interpretive dancer walking around the lab trying to keep gravity going in the right direction while I manuevered an Allen wrench to a screw I could not see and make sure I could get it into a hole I could not see.

I eventually got it, mostly by accident.

So that was my Monday. And today I am taking a break :) I'll pick it back up tomorrow!

4B795281-3260-4C63-B964-C8A89C670CE0.webp

D52EB51F-845C-4AC1-B129-A957B0E7EA5F.webp

 
Last edited by a moderator:
Top